August 9/September 4 2024 Aircraft Mounting Plate and MK-46 Update
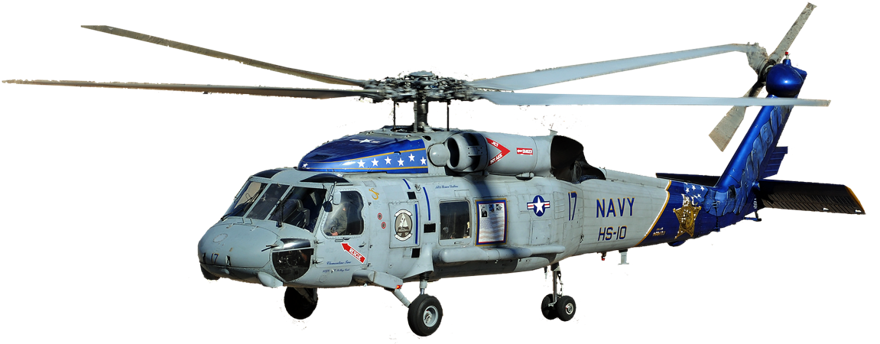
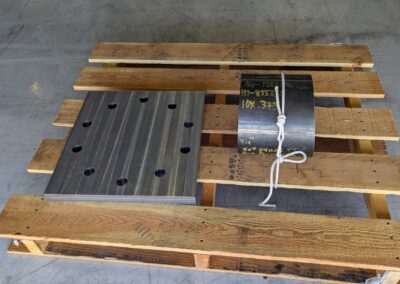
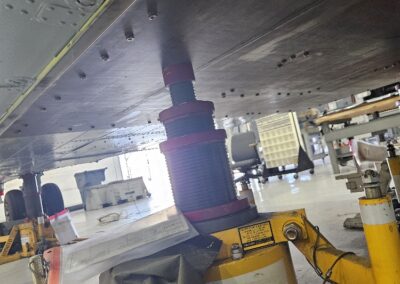
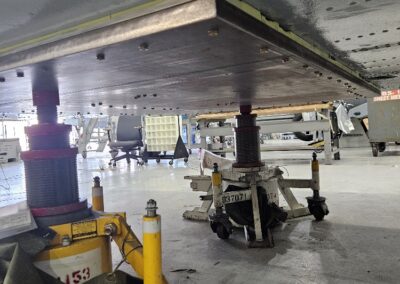
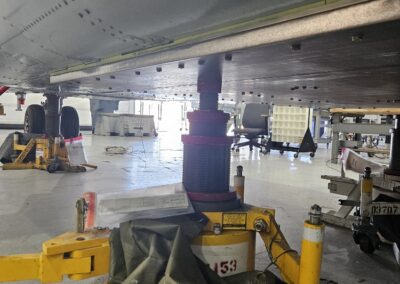
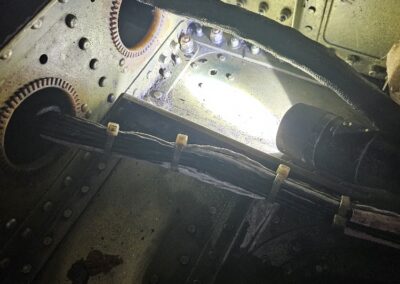
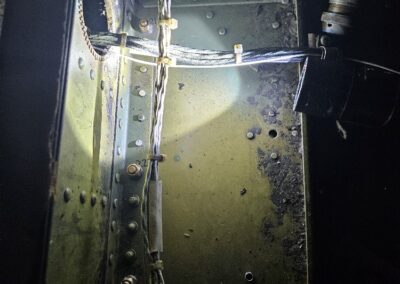
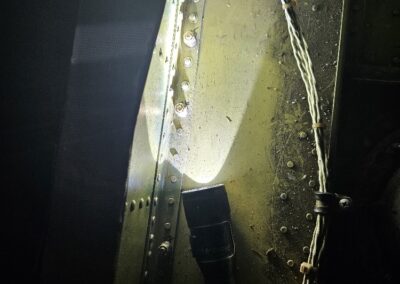
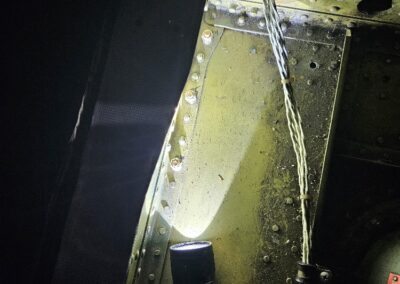
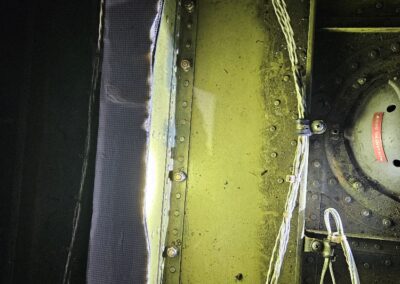
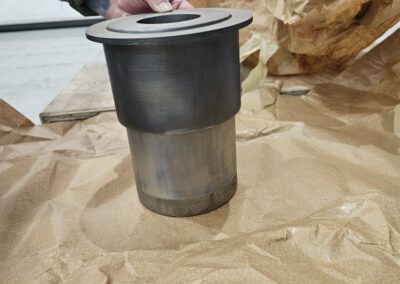
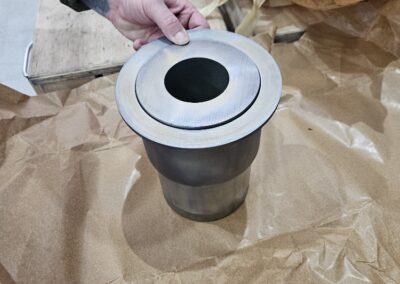
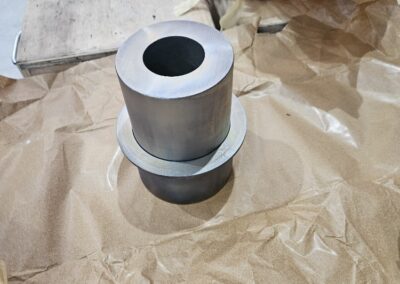
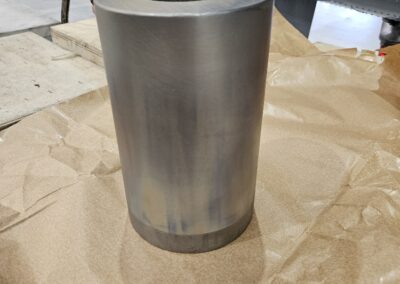
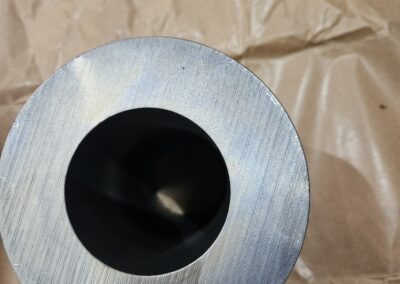
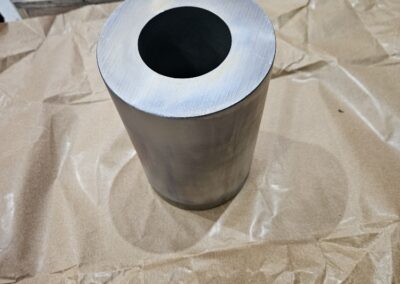
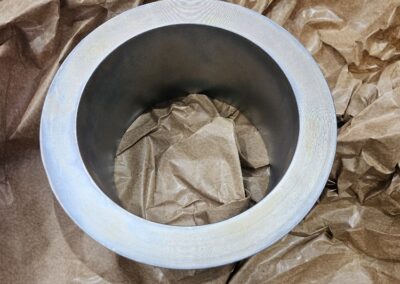
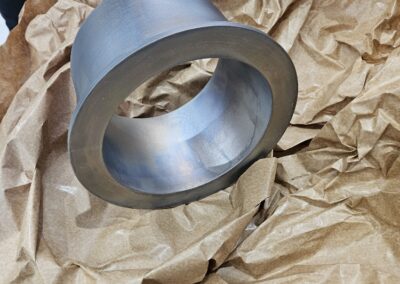
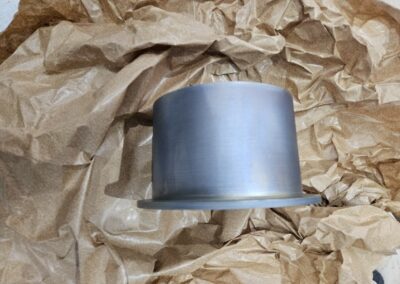
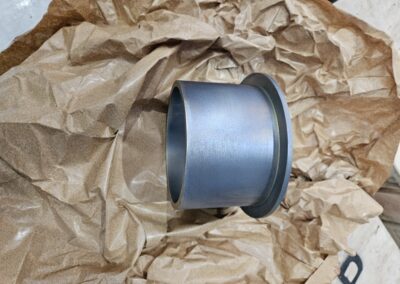
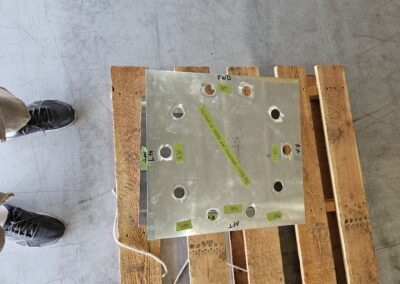
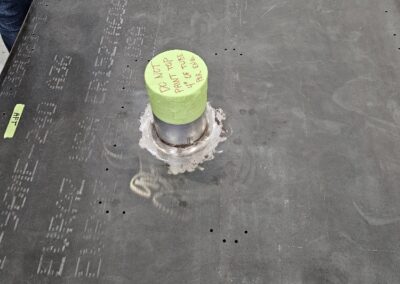
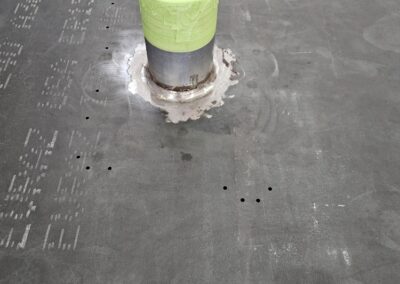
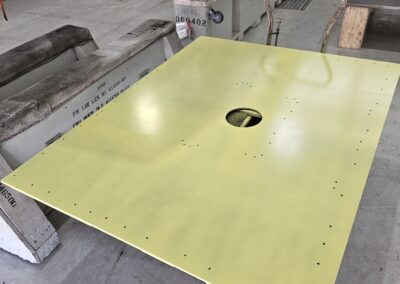
I made an inspection visit of the aircraft this morning. The steel mount is attached and needed to take several pictures of the attachment nuts on the inside hull framework of the aircraft. There are 120 bolts through the plate/hull and attached on the inside with nuts as depicted in the photos. I had a look at the two pieces of steel, collar and sleeve, which have been machined and coated which are the primary part of the overall mount which fits into the 60F RAST hole to keep the plate and aircraft from shifting. This mount will be attached to the bottom steel plate by welding. The coating which is to protect the machined steel surfaces is very nice and intended to protect the machine work till it is finish welded. Once the mount is completed it will be removed and coated/painted before being remounted to the aircraft. Really nice machine work from NADEP.
The NADEP artisan handling this work has been busy with a high priority repair job and will began again next week on fitting these pieces and getting them welded to mounting plate on the underside. Additional is the separate thick piece of steel which will be attached which actually holds the whole mount to the top of the stanchion. No pictures here of that piece but it is 1 inch thick and will have 10 holes in it.
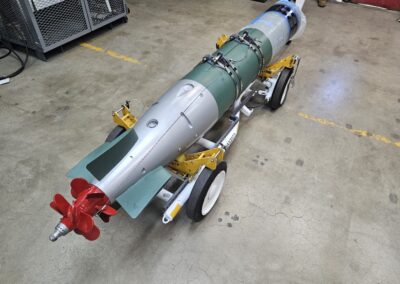
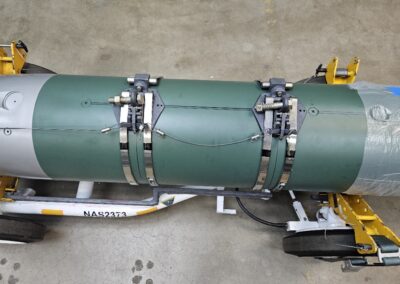
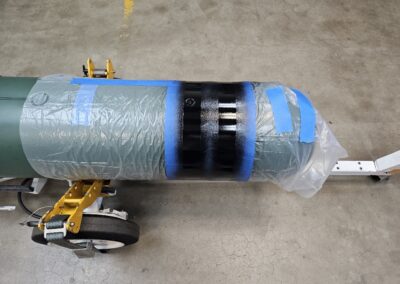
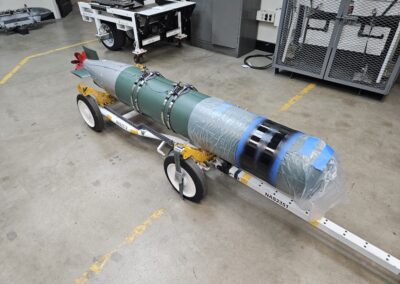
The Mark 46 torpedo has a new set of bands installed and the final paint striping all but finished. Needs one final color. I discussed our need for a safety cable on the attached MK-46 on the aircraft, which the Aviation Ordinance folks suggested two options. The option using a fabricated steel cable fitted around the torpedo body and thru the center hole of the BRU should work perfectly. Cable needs an attachment clip on one end and eye on the others. Simple and quick.
September 4, 2024 Stanchion Top Plate
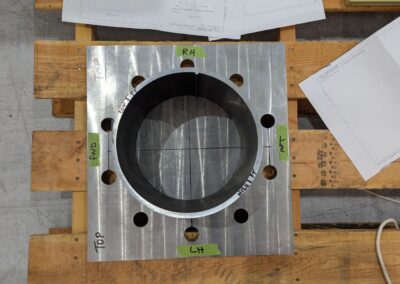
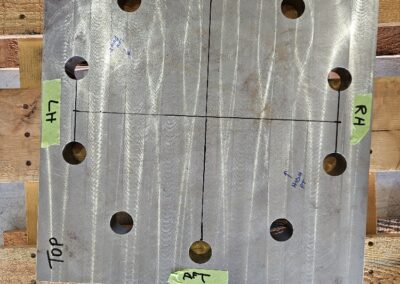
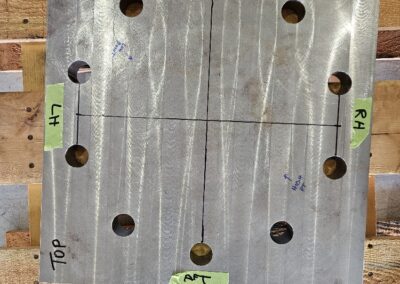
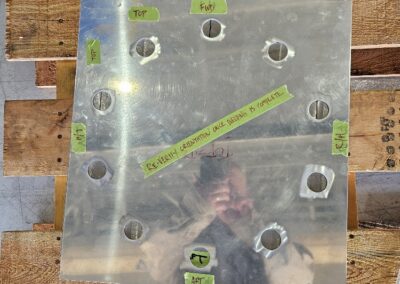
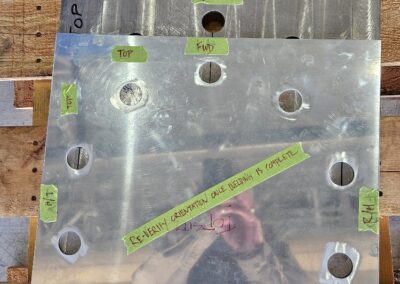
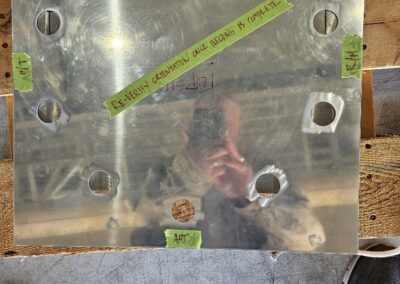
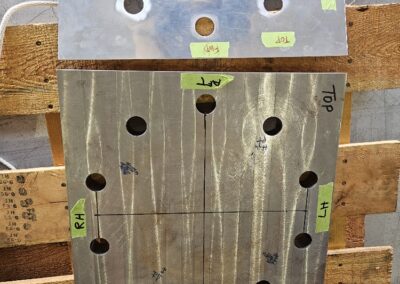
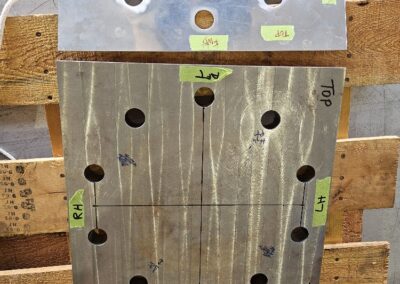
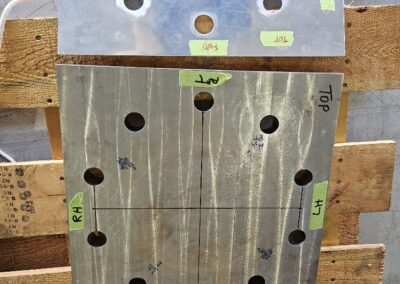
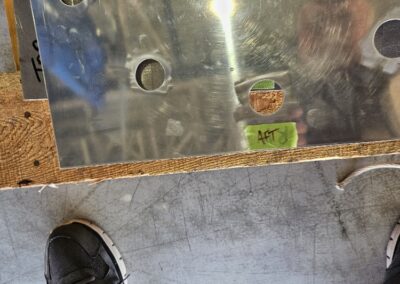
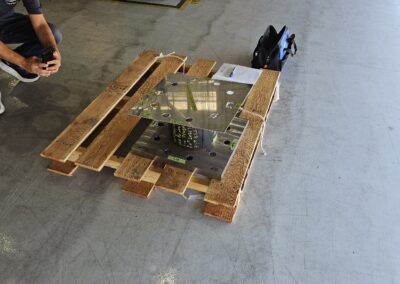
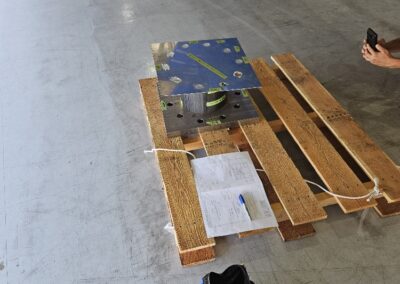
Two pictures of the 12 x 18 inch steel stanchion plate(Now 12 x12 unfortunately) with the 10 holes. The plate will be welded to the steel tubing in the photo which will then be welded into the large steel plate attached to the bottom of the 60F. Unfortunately, inspite of both Bill and I heavily marking this piece of steel that it was to remain 12 by 18 inches and talking about this aspect many, many times with the engineer and team, someone decided to cut 6 inches off it without consulting with the engineer which means it will have to be welded back to this steel plate. The top of the concrete stanchion will be 12 x 18 inches with the 10 bolts installed in the concrete to match the holes pattern/position wise. The plate would cover the top of the stanchion and allow a simple metal/sheet metal skirt to be welded or attached to it once the aircraft is placed formerly and attached to the stanchion.
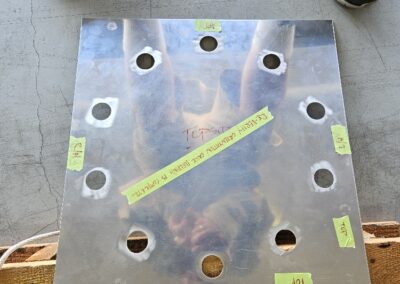
In fact Nedep is to make a thin alum shim template of this overall plate for use by Burch Construction in getting the bolt positions in the correct place in the concrete stanchion
September 9 2024 Stanchion Mounting Plate Update
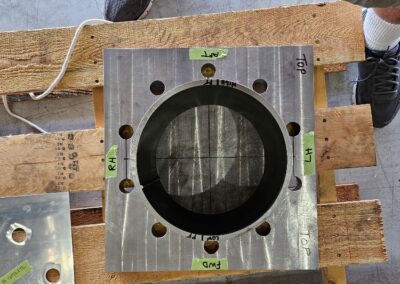
The 12 inch x 12 inch piece of steel plate drilled with ten holes with the two of the holes drilled on the center line of the plate. The top hole will fit on the most forward, centered of the ten bolts emplaced in the concrete stanchion. The welding this week will involve the large round steel tubing which will be positioned and welded to the large mounting plate on the aircraft so it holds the nose down 5 degrees with 3 degrees right wing down.
I met with the Engineer to review this positioning before they proceed to weld this week.
